
Why Your Knees Hurt Hiking Downhill and What to Do About It
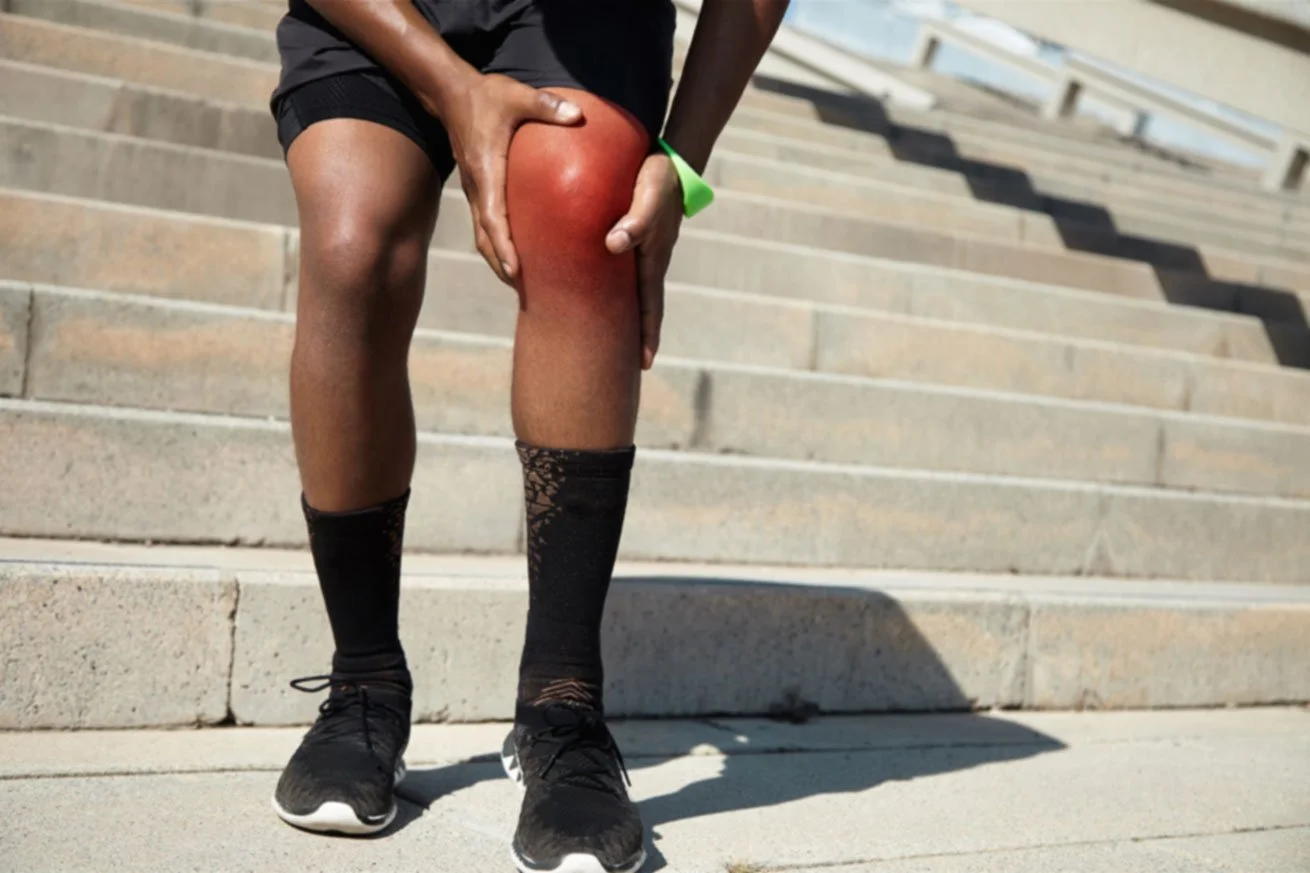
Your knees were fine on the climb. A mile into the descent, they started to ache. The next morning, your own stairs hurt worse than the hike did.
This is a common complaint we hear from hikers at Victory Performance and Physical Therapy in Mar Vista, and it is usually a capacity problem rather than damage. Below: how the causes differ, a graded framework with real sets and tempo, and the tests used to judge whether you are ready to descend.
What Is Hiker's Knee?
"Hiker's knee" describes when your pain happens rather than what is hurting. The internet mostly equates it with patellofemoral pain, meaning pain where your kneecap glides in its groove. We will call that the kneecap joint from here on. Pain on the outside of your knee, or behind it, is a different problem.
So why is going down so much worse than going up? Descending is its own event. Your quadriceps lengthen while contracting hard to brake each step, which clinicians call eccentric work. It generates very high force while feeling deceptively easy at the time.
When Should You Get This Looked At?
Everything below assumes a knee that aches under load and settles with rest. Get it examined before you load it if your knee locks or catches, gives way underneath you, or swelled within hours of a twist or fall. Swelling is not soreness. These doses were not written for a post-surgical knee or an inflammatory joint condition.
Has the pain already been there more than two weeks, or is it getting worse instead of better? That is a reason to be assessed before you start a loading program rather than months into one.
How Do the Common Causes Differ?
Point at it with one finger
Treat this as general orientation rather than self-diagnosis. Pain a single fingertip can cover usually sits on a tendon or bony landmark, like the patellar tendon below your kneecap or the bony ridge outside your knee. Tendon-type pain warms up with movement: sore for ten minutes, better once you are moving, sore again next morning.
Pain that takes a whole palm to indicate, vague and getting worse as the descent goes on, more often involves the kneecap joint. Telling the three apart takes a hands-on exam. The framework below addresses the diffuse front-of-knee pattern, which is the most common.
The step-down test
One common assessment is a single-leg step-down from a 6-inch step. Hands light on a rail, lower over 4 seconds until your free heel just touches the floor without taking weight, then 1 second back up, counting clean reps with the knee tracking over your second toe and your pelvis level.
A side-to-side gap of three or more clean reps is what directs the training. Filming yourself from the front often shows why, since a dipping pelvis or an inward-drifting knee points to hip control. As self-screening it has limits, because the number means most when someone is watching for those compensations and can re-test it later.
What Does the Loading Program Look Like?
Programs of this type run three strength sessions a week on non-consecutive days, adding a short descent session from week three. Three a week is what supervised patellofemoral-pain programs use.
The anchor movement is the eccentric step-down, the braking action of a descent, set up like the test above.
A common progression runs in two-week blocks, dosed by step height rather than load: weeks 1–2, a 4-inch step, 3 sets of 8 per leg at bodyweight; weeks 3–4, a 6-inch step, 3 sets of 10; weeks 5–6, an 8-inch step, 3 sets of 8 with 10–20 pounds. Tempo never changes: 4 seconds down, 1 second up, because the slow lowering is the treatment. Progress height, then reps, then load.
These are typical starting numbers rather than a personal prescription; yours should come from your own testing, and a hard week simply gets repeated. Our programs are tailored to you rather than taken off a page.
1. Heel-elevated split squat (front of the thigh)
Commonly programmed as: 3 sets of 8 each leg, lowering over 3 seconds
How: Split stance, front heel on a thin book or weight plate, back foot a stride behind, toes down. Lower the back knee toward the floor over 3 seconds, then drive up through the front leg.
2. Side plank with top-leg lift (the hip muscles that level your pelvis)
Commonly programmed as: 3 sets of 10 each side, with a 2-second hold at the top
How: Lie on your side, elbow under shoulder, feet stacked, and lift your hips into one straight line. Raise the top leg about a foot, hold 2 seconds, lower under control. Keep your toes pointing forward; rolling them up hands the job to the wrong muscle.
3. Seated calf raise (the soleus, the deep calf muscle)
Commonly programmed as: 3 sets of 15
How: Sit with your knee bent to roughly 90 degrees and a dumbbell or loaded backpack on the thigh. Press onto the ball of your foot, take 3 seconds to lower, pause at the bottom. When descents fall apart late, soleus endurance is worth having assessed.
4. Spanish squat, or a wall sit (load without provocation, for irritable days)
Commonly programmed as: 5 sets of 45 seconds
How: Loop a heavy band around a solid anchor at knee height and step into it so it sits across the back of both knees. Walk back until tight, then sit into a squat, shins vertical, chest up, holding against it. No band? Wall sit: back flat, knees at 90 degrees, shins vertical.
The graded-exposure component runs once weekly on a non-strength day, starting short: one block of 4–6 minutes of continuous downhill in week 3 (three or four slow flights of stairs, or five minutes down a hill), two blocks with flat walking between in week 4, three blocks in weeks 5–6 with the real pack in the final week.
In a four-week study, thirty healthy young men with no knee pain walked a treadmill at a 28 percent decline once weekly with an extra 10 percent of body weight; eccentric knee-extensor strength rose roughly 19 to 21 percent. One group ramped up from 10 to 70 minutes and avoided muscle damage, the other did 40 minutes every session and got sore, yet both gained about the same, leading the authors to suggest soreness is "not a major determinant" of the gain (Maeo et al., 2016, J Sports Sci. View on PubMed). Damage there was judged from blood markers rather than the muscle, and sessions ran 40 minutes against the 4 to 6 here, so it supports weekly graded downhill loading as a principle, not this dosage.
Why the hip work? A systematic review of 14 studies found strong evidence that hip plus quadriceps rehabilitation improves pain and function in patellofemoral pain in the short term, with only limited evidence that it beats quadriceps work alone long term (Lack et al., 2015, Br J Sports Med. View on PubMed). That review tested whether adding hip work helps, not whether weak hips cause your pain, and it did not examine decline loading. So hip work sits beside your step-downs rather than replacing them.
The pain rules. A widely used rule of thumb from tendon-loading research allows discomfort up to about 3 out of 10 during exercise, provided it does not climb as the set goes on (a rising score suggests the tissue is not tolerating the load), and provided symptoms settle back to baseline within 24 hours. A mild increase that clears within the day means holding the dose rather than progressing. Pain that persists into the next day is the point to stop and check in with a clinician, and swelling always is.
Readiness checks. Commonly used before a long descent, all three: 3 sets of 10 step-downs from 8 inches on each leg at 3/10 pain or less with no increase the next morning; 20 continuous, controlled stair descents without symptoms climbing; and one loaded descent at real pack weight, unchanged 24 hours later. In clinic these thresholds are set from the individual's baseline testing, not fixed in advance.
One caution: aggressive quadriceps stretching can aggravate kneecap pain short term, because deep bending increases pressure between kneecap and groove. Not a ban on stretching, but a knee consistently worse after hard stretching is worth raising at an assessment.
Rather not guess at these numbers? Our Mar Vista team can test both legs and build your return-to-hiking criteria around what it shows. Start with a free initial consult.
Call today: 424-543-4336
Can Trekking Poles Actually Save Your Knees?
Partly. Both numbers come from papers that measured something narrower, and poles are no substitute for building the capacity.
"Descending drives seven times your body weight through your joints." In 1994, twelve healthy volunteers walked down a 19 percent gradient; peak compressive force was calculated at about 7 times body weight in the men and 8.5 in the women (Kuster et al., 1994, Knee Surg Sports Traumatol Arthrosc. View on PubMed). It was modelled, not measured inside anyone's knee, and it describes the tibiofemoral joint (where shin meets thigh), not the kneecap joint where most hiker's knee hurts.
"Poles absorb up to 25 percent of the impact." Eight men walked down a 25-degree ramp with and without poles. With poles, force through the foot, leverage demand at the knee, and compression and shear at that hinge fell 12 to 25 percent (Schwameder et al., 1999, J Sports Sci. View on PubMed); 25 is the top of the range. The kneecap-joint measurements moved the same way but varied too much to rule out chance.
Where to Train Descents on the Westside
The Culver City Stairs at Baldwin Hills Scenic Overlook are the local proving ground: up the switchbacks, down the stairs slowly. Sections close for trail work without notice, so check the State Parks page that morning. Training for hill running instead? Our LA Marathon hill guide covers a different load pattern.
People Also Ask About Hiking Downhill Knee Pain
How do I stop my knees from hurting when hiking downhill?
Once pain starts mid-hike, common damage control is breaking the rest of the descent into shorter segments with standing rests and taking the steepest sections sideways. Damage control, not a fix.
Is hiking downhill bad for your knees?
No, but it is demanding in a way ordinary training does not prepare you for.
How do you get rid of hiker's knee?
The best-evidenced approach is progressive loading rather than rest: combined hip and knee strengthening is what the patellofemoral-pain literature supports (the Lack et al. review above). A session that flares symptoms is usually corrected with a smaller step or less volume next time, not a week off, because rest settles pain and shrinks capacity together.
How long does it take for hiker's knee to heal?
Nobody can promise when the pain stops; it varies too much between people. Expect early signs of progress within the first few weeks and a meaningful change in symptoms over roughly four to six weeks, while rebuilding the strength and control that keep it away generally takes twelve weeks or more. If nothing has shifted after six consistent weeks, get reassessed instead of pushing harder.
Descend Without Thinking About It
We can work out which presentation you have and build the progression around what the testing shows. Personal training and physical therapy both start from an assessment; our knee pain page covers what an evaluation involves. Our clinic offers one-on-one care.
📞 Call: 424-543-4336